# Inbenta
Let's create our first chatbot on Inbenta and connect it to SPooNy.
Go to the Inbenta console (opens new window) and login / create an account if necessary.
# Populate your chatbot
Once you're in the Inbenta chatbot, let's import a simple hello world example.
Download the following exported intent (opens new window).
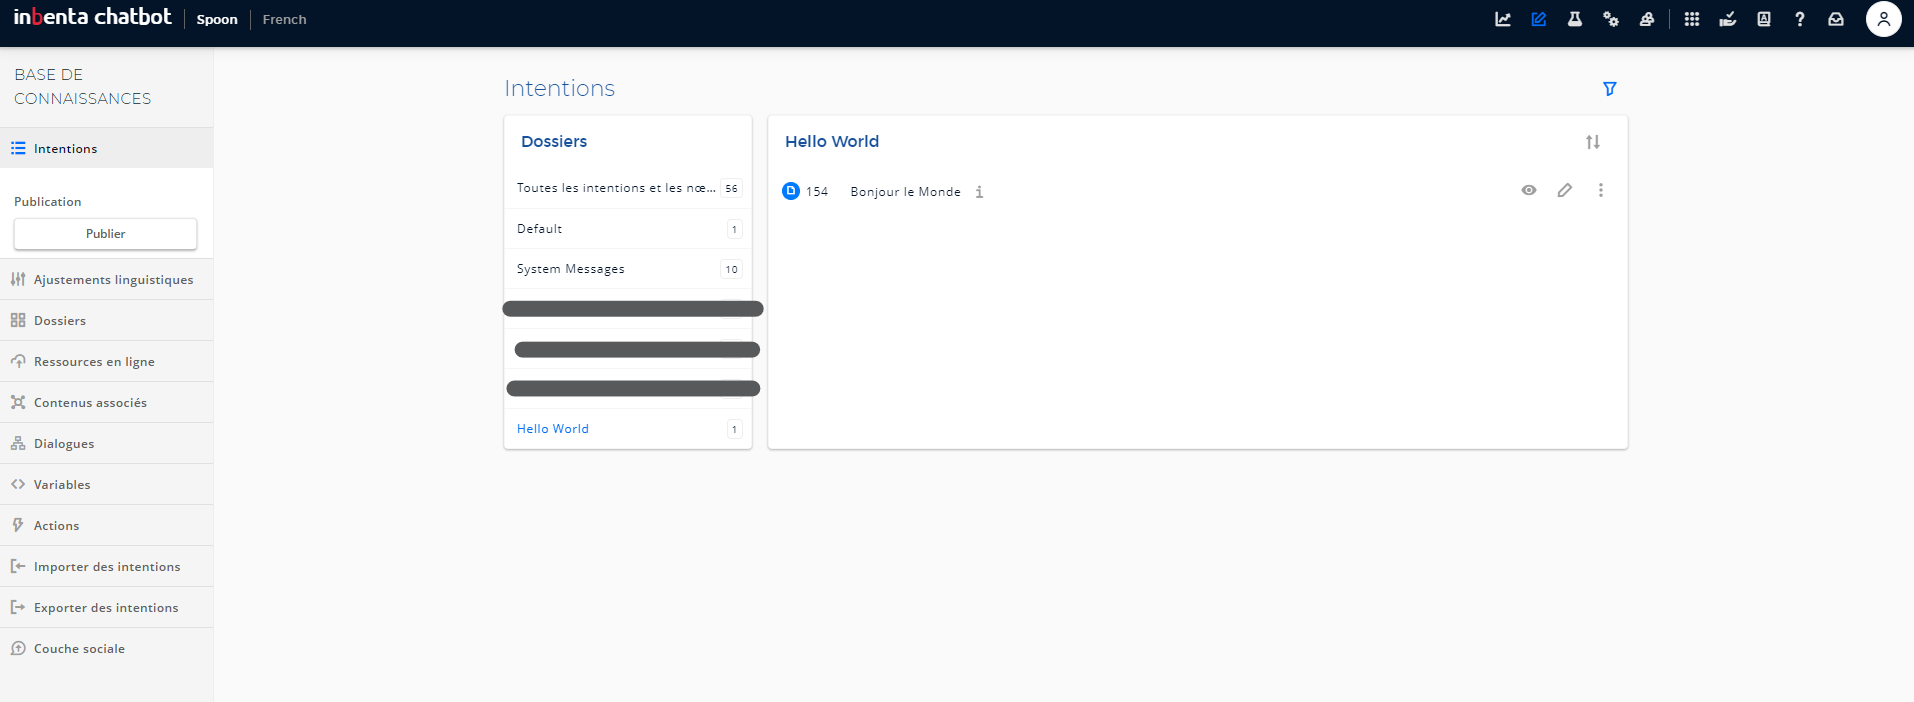
You can import the downloaded file by clicking on Import Intentions in the Knowledge Base tab of the Inbenta interface:

Your first agent has been imported. You should see one Bonjour le Monde intent in the Intents section of the Knowledge base tab of the Inbenta interface:

# Download the chatbots credentials to connect it to SPooNy
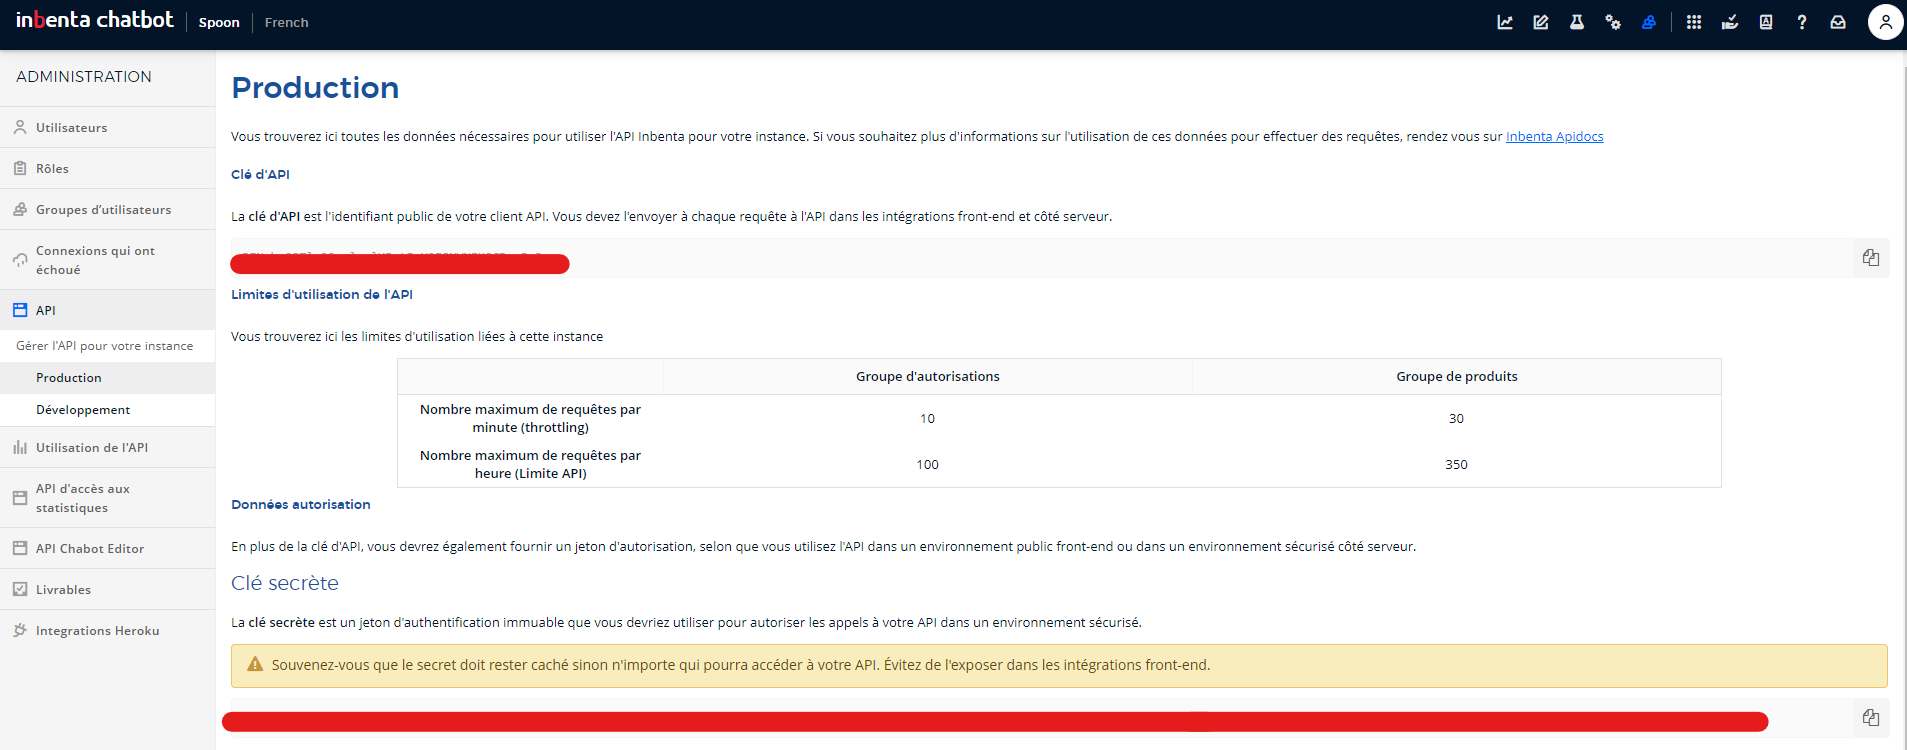
The information you need to connect to Inbenta are on the administration page of your Inbenta platform. Click on the administration icon in the top bar, then on the API in the left bar menu. Choose whether you want to connect to your development or production environment.

You need the following information to connect your Inbenta chatbot to SPooN's SDK:
- inbenta api key: keep that API key handy as you'll use it in the
release.conffile as described in the instructions below - inbenta secret key: simply save that secret key in a file (for example
inbenta.key). Save this file next to therelease.confwhich you can usually find atC:/Program Files/SPooN/developers-1.6.0/release/Conf.
# Connect your new agent
Now that your agent has been created, please download the following relase.conf. Replace the existing release.conf file in C:/Program Files/SPooN/developers-1.6.0/release/Conf (back it up first if there is an existing configuration, and rename the downloaded file to release.conf).
Update the release.conf to include the Inbenta API Key that you found above. Look for the following line and replace INBENTA_API_KEY by the proper value.
"inbentaApiKey": "INBENTA_API_KEY",
Your chatbot is now linked from the release.conf file, if you restart SPooNy, he will start the interaction when a user is in front of him.