# Dialogflow
Let's create our first chatbot on Dialogflow and connect it to SPooNy.
Go to the Dialogflow console (opens new window) and login / create an account if necessary.
# Create your agent
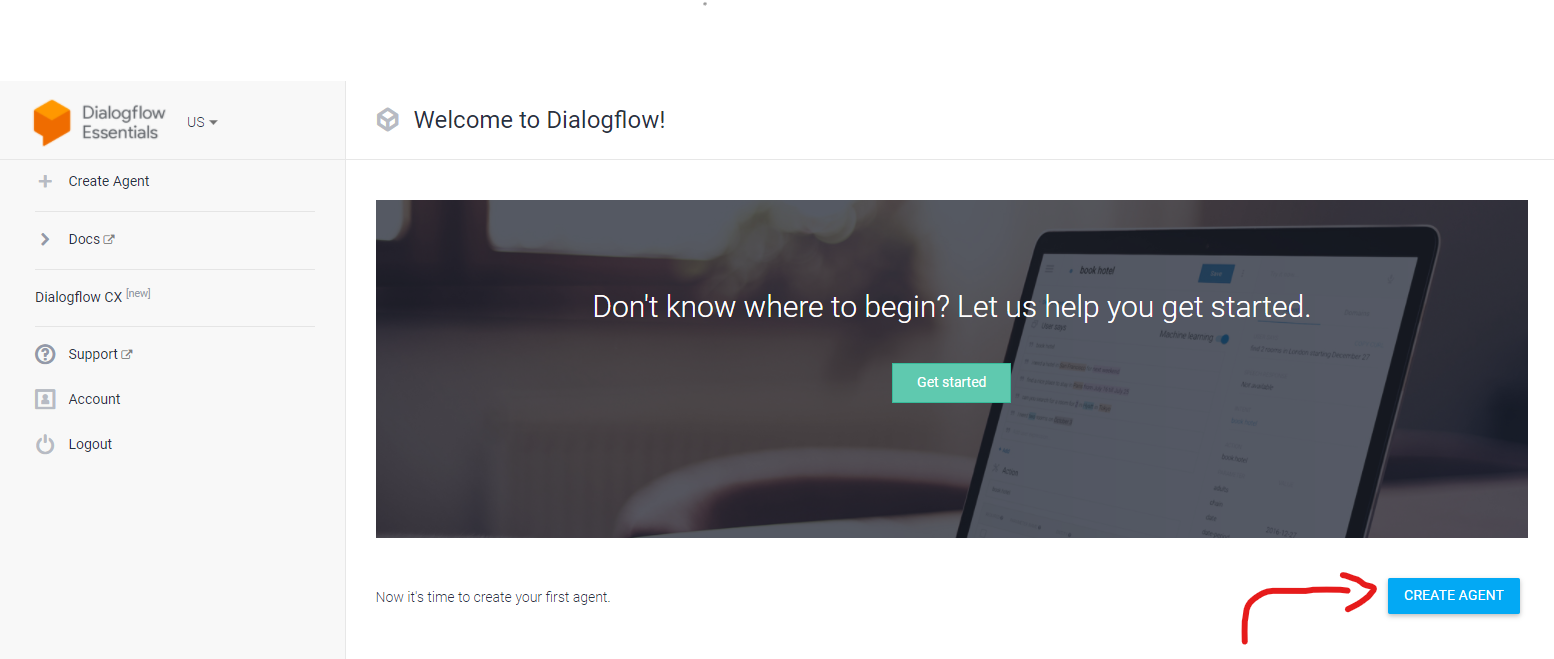
Once logged-in in Dialogflow, click on the create agent button.

Fill in the Agent Name, default language and other information - if you're not sure and are doing this on your own Google Account, then it's safe to create a new Google Project for your agent.
Now that the agent is created, let's import a simple example.
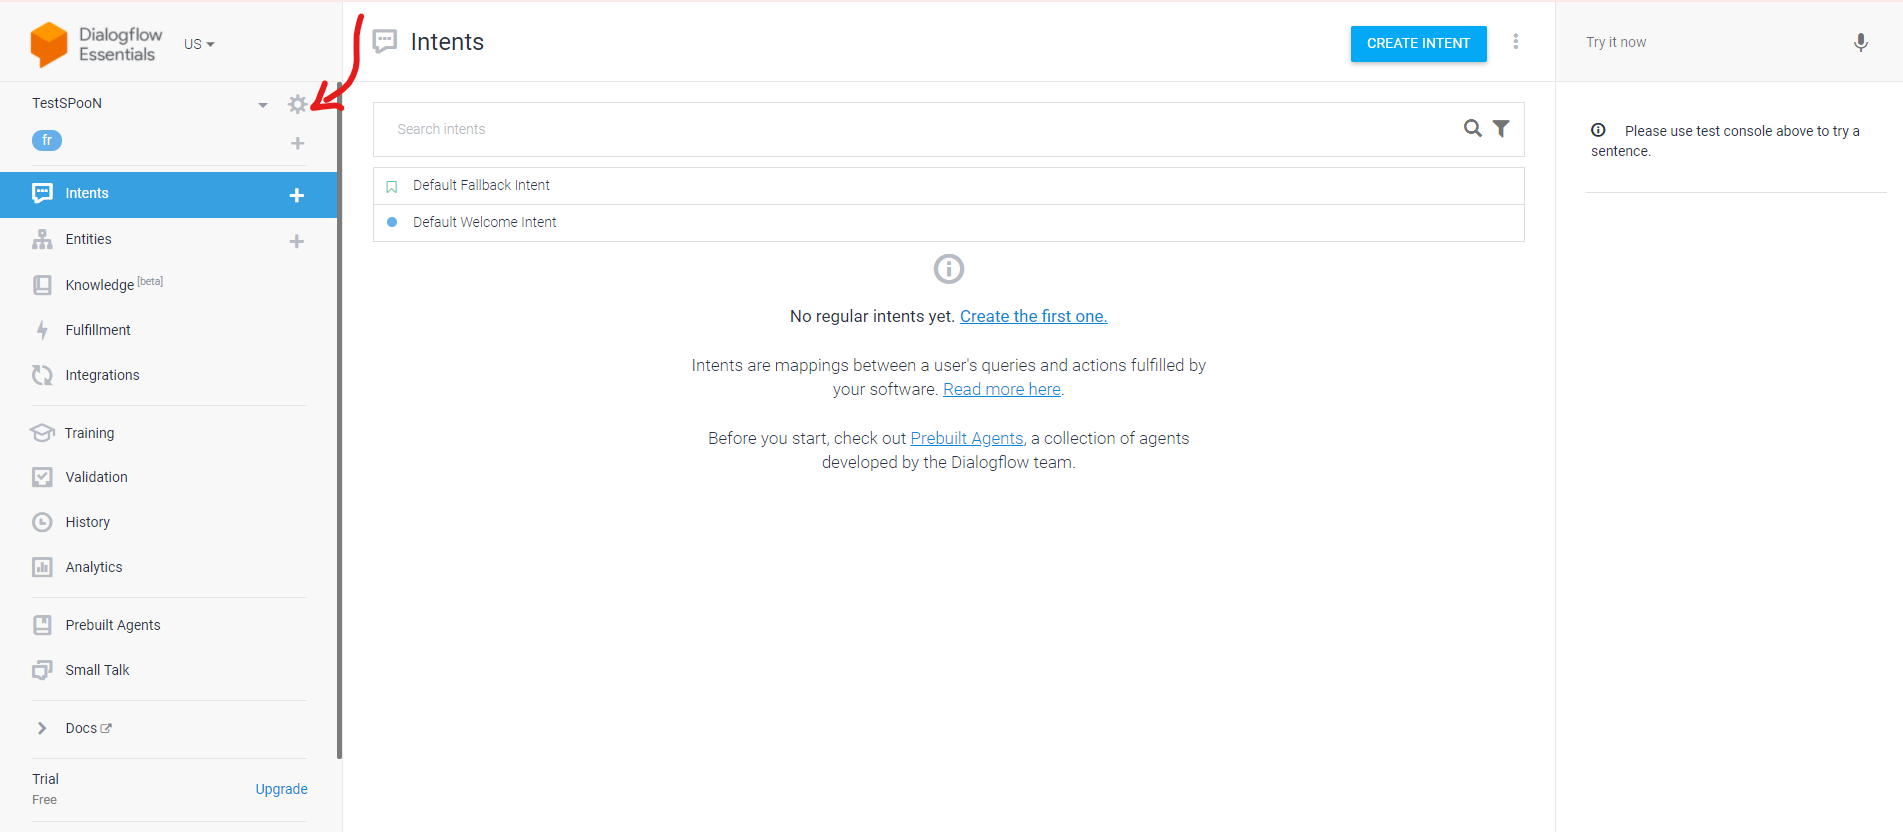
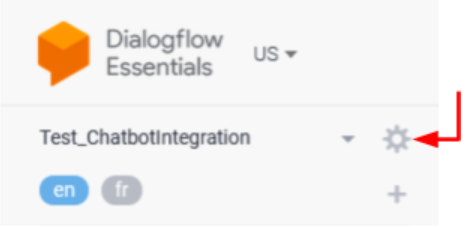
First go to your agent settings:

Now click on Export and Import:

Download the following exported agent (opens new window), click on Restore from ZIP, and upload this zip file to populate your new agent with a simple example.

Your first agent has been imported. You should see a few Intents in the Intents section:

# Download the chatbots credentials to connect it to SPooNy
# Retrieve the project ID of your DialogFlow agent
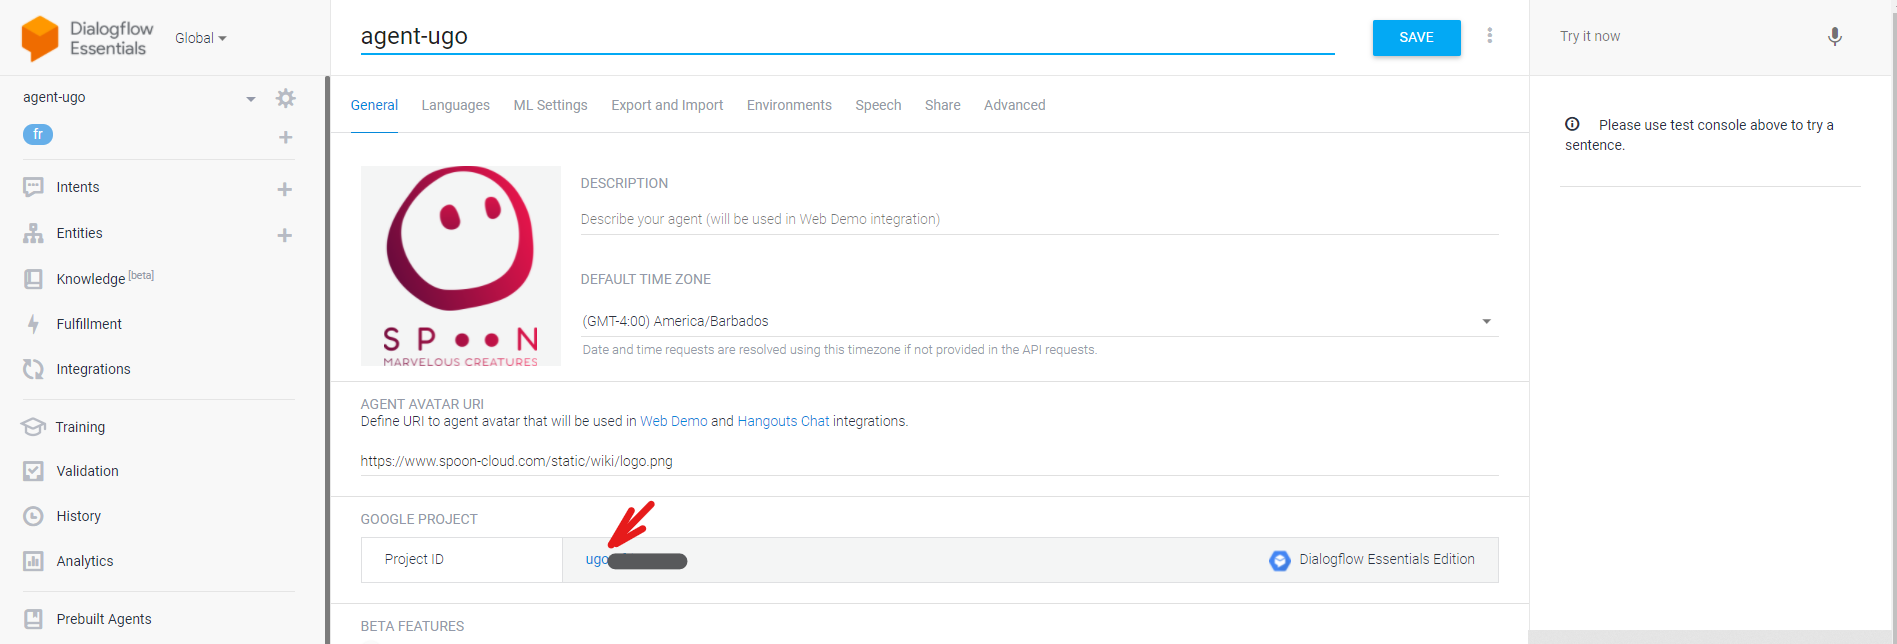
- Go to the parameters of your agent in DialogFlow (opens new window)

- Click on the ProjectID field and it will redirect you to the corresponding project on the Google Cloud Platform

# Create a Service Account with proper role & permissions + Key
Once on Google Cloud Platform (see previous section):
- Go to Menu > IAM & Admin > Service Accounts
- Create ServiceAccount
- Click on + Create Service Account
- Give a name to your service account, for example SpoonClient
- Click on Create
- In Select Role, choose role DialogFlow API Client
- Click on Continue
- Do nothing in Grant users access to this service account
- Click on Done
- Create a key for your newly created Service Account
- You should see your Service Account in the displayed list
- Click on the ... button in the Actions column + choose Manage Key > Add key > Create new key
- Choose JSON in the popup + Click on Create
- Download the json file on your computer and place it in the
C:/Program Files/SPooN/developers-1.6.0/release/Conffolder.
TIP
Thanks to this JSON key file, Spoon software will be able to authenticate itself as the Service account, with the right permissions to communicate with your DialogFlow agent.
WARNING
- Do not commit your json file in a git repository ! Everybody will be able to use your identity. Your billing will increase a lot. (if you want to git your configuration, use a .gitignore to remove your json file)
- Only add the DialogFlow API Client role in IAM. In case of unwanted share of identity, the hacker is limited by this role.
# Connect your new agent
Now that your agent has been created, please download the following relase.conf. Replace the existing release.conf file in C:/Program Files/SPooN/developers-1.6.0/release/Conf (back it up first if there is an existing configuration, and rename the downloaded file to release.conf).
Update the release.conf to point to your previously downloaded google credential json file. Look for the following line and change DIALOGFLOW-CREDENTIALS.json.
"serviceAccountFileName": "DIALOGFLOW-CREDENTIALS.json",
Your chatbot is now linked from the release.conf file, if you restart SPooNy, he will start the interaction when a user is in front of him.