# Getting Started
Once you've installed the release and necessary tools, it's now time to start your own SPooNy.
# Running the release
Simply go to the release folder of the installation directory. By default it will be at C:/Program Files/SPooN/developers-1.6.0/release. Double click on the Spoon-ai executable to start the release.
Once the release is loaded - it can take some time on the first run - you see SPooNy's face. SPooNy is now ready to interact with you!

TIP
If for some reason you encounter some issue running the release, please send us the content of the logs. You will find them in C:/Program Files/SPooN/developers-1.6.0/release/SpoonLogs
# Interacting with SPooNy
In order to interact with SPooNy, it has to see you. So make sure you're in front of your camera!
TIP
You should notice when SPooNy sees you as it's always very happy and becomes animated when it spots someone.
As SPooNy sees you, it runs the welcoming scenario and you are presented with a menu that makes it possible to interact with your Dialogflow scenario later on. Since you haven't created or linked your chatbot yet, the menu is empty for now.
# Creating our first chatbot
Let's create our first chatbot to be able to fill in that menu! We will just go through the basics here to get you started quickly. If you want a more in depth overview, then read the Dialogflow explanation.
Go to the Dialogflow console (opens new window) and login / create an account if necessary.
# Create your agent
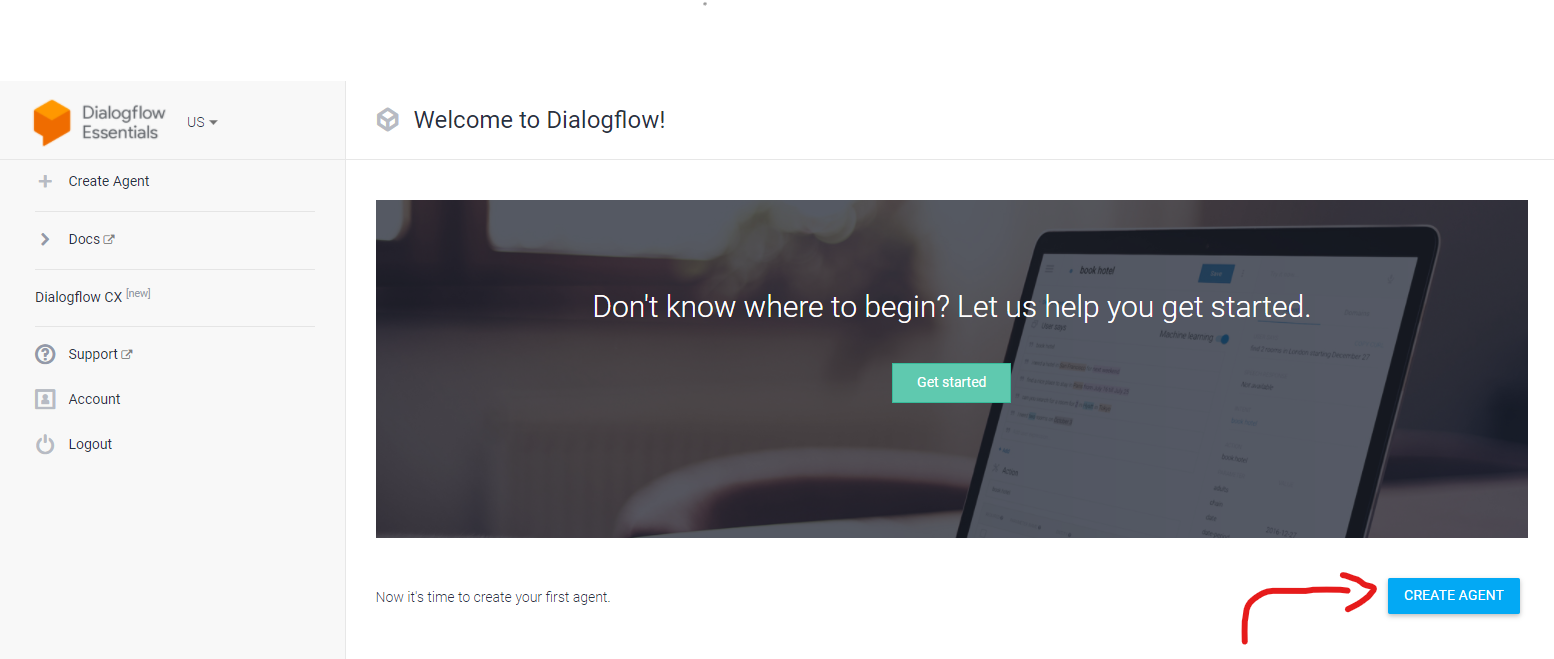
Once logged-in in Dialogflow, click on the create agent button.

Fill in the Agent Name, default language and other information - if you're not sure and are doing this on your own Google Account, then it's safe to create a new Google Project for your agent.
Now that the agent is created, let's import a simple example.
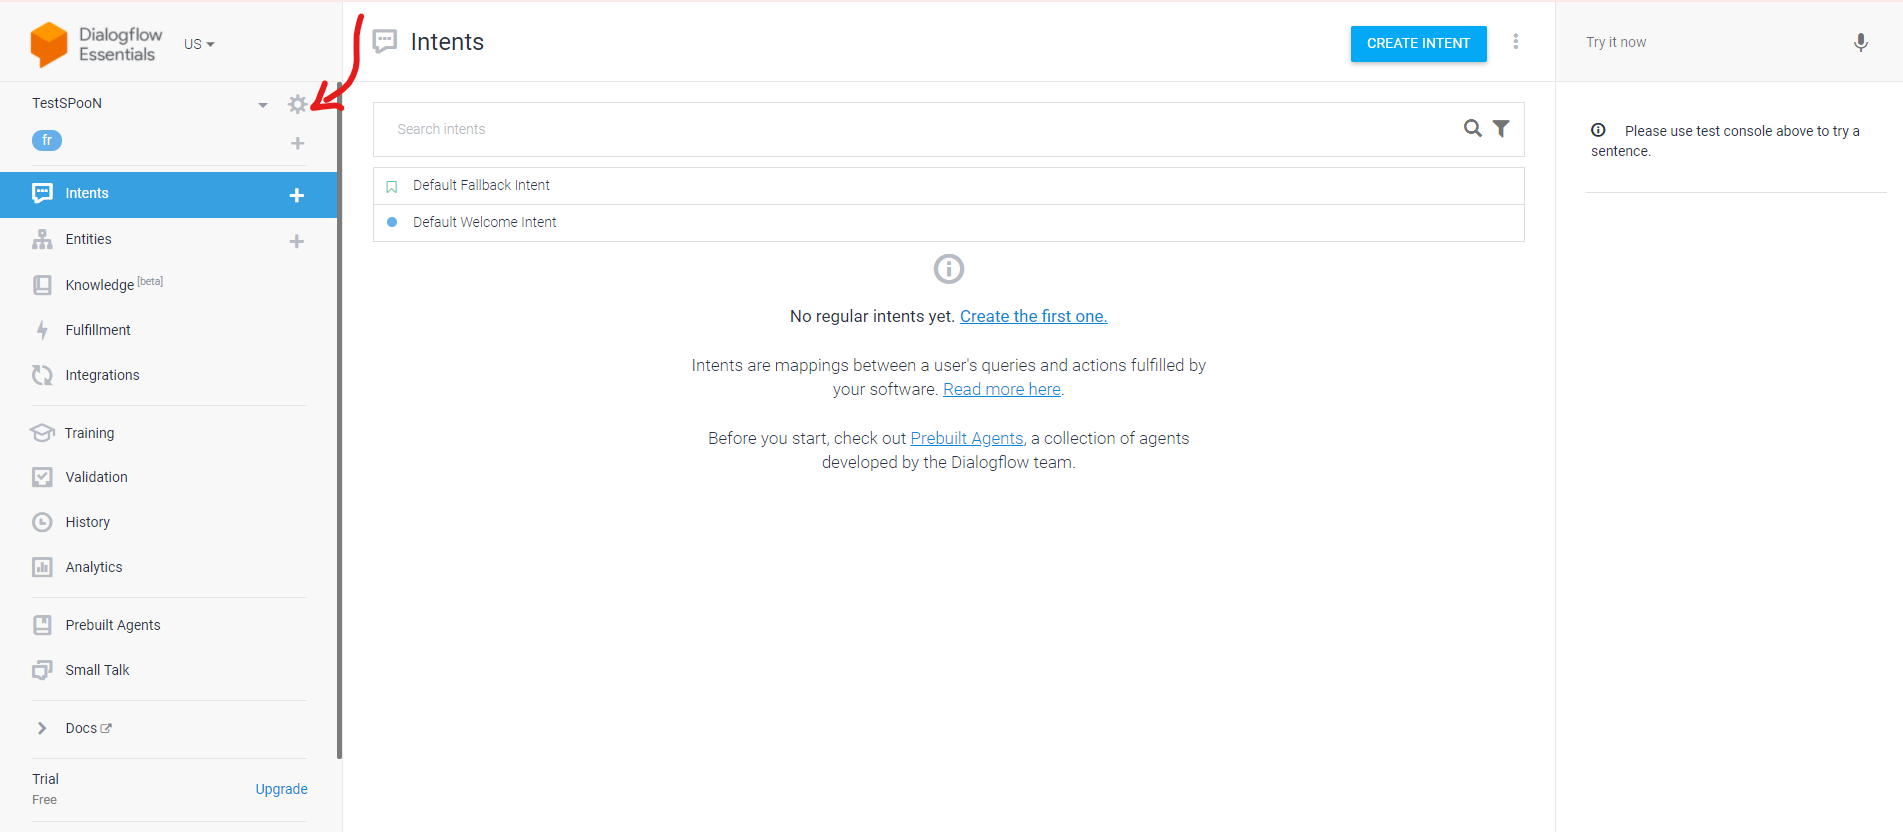
First go to your agent settings:

Now click on Export and Import:

Download the following exported agent (opens new window), click on Restore from ZIP, and upload this zip file to populate your new agent with a simple example.

Your first agent has been imported. You should see a few Intents in the Intents section:

# Connect your new agent
Now that your agent has been created, please refer to the following section to connect it to your own SPooNy.
# Testing the integration
Now that you've linked your agent from the release.conf file (usually at C:/Program Files/SPooN/developers-1.6.0/release/Conf), SPooNy's menu isn't empty anymore and accesses your imported chatbot.
# Conclusion
You've now started SPooNy and connected a first chatbot. To take things further, you can:
- read more about the Dialogflow integration.
- use Agora to teach some quick replies to SPooNy.